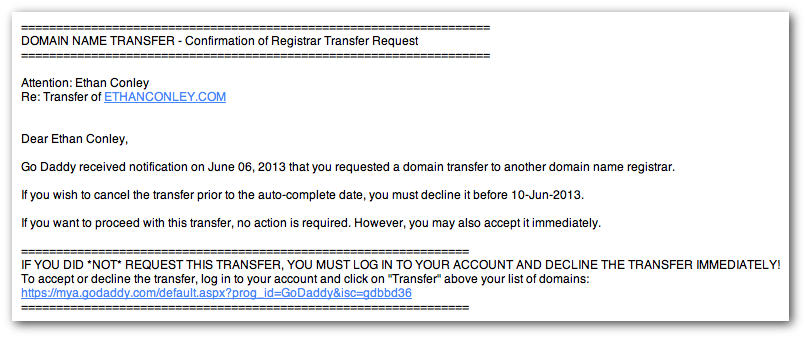
Last week I began the process of transferring an expired domain from GoDaddy.com. At the end of that post, I had approved the transfer in my name.com account, and was waiting on GoDaddy to complete the transfer. I received the following email shortly after approving the transfer on the name.com side:

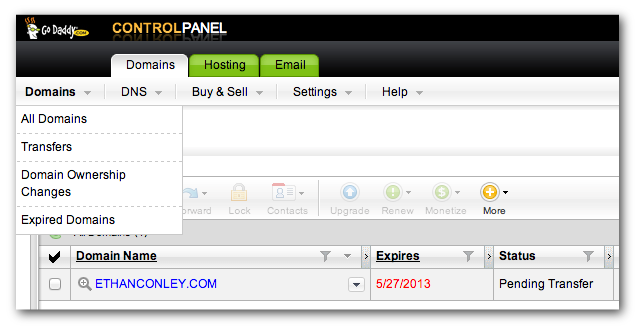
I followed the link …

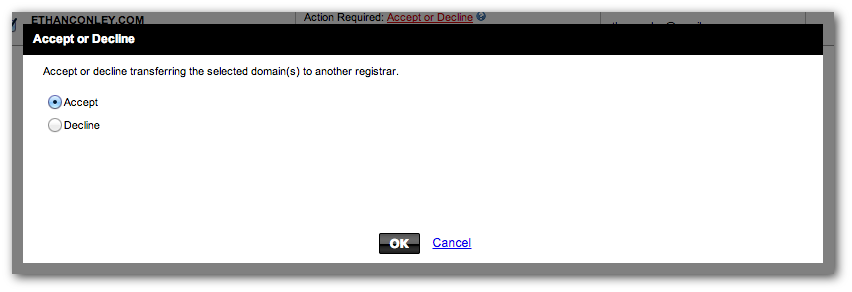
Clicked a few buttons …

 And the transfer was complete! GoDaddy.com soon sent an email to let me know that the domain had successfully transferred to name.com, and name.com sent an email to confirm that the transfer had been received. Now the domain is residing quite happily in may name.com account:

So transferring a domain can get kinda confusing, huh?
Yup. Completing the transfer requires a lot of going back and forth between the registrars. Here’s a very streamlined recap of the steps I took to transfer my expired domain from GoDaddy.com to name.com:
1. Received a domain authorization code from GoDaddy.com and unlocked the domain.
2. Completed the transfer order at name.com, starting here.
3. Approved the transfer in my name.com account (via link/instructions that were emailed shortly after completing the order).
4. Approved the transfer in my GoDaddy.com account (via link/instructions that were emailed shortly after completing the previous step).
5. Rested easy knowing my domain was in good hands.
As evidenced by a walkthrough that spanned two blog posts and required a ton of screenshots, domain transfers can get a little complicated. If you’re trying to transfer an expired domain from GoDaddy, the five steps listed above are a good roadmap, and name.com’s awesome support team will be there to guide you through it.

